
Food is too watery / sauce too thin
After full release, simmer uncovered on sauté, stirring frequently. Add an appropriate slurry only after pressure cooking.
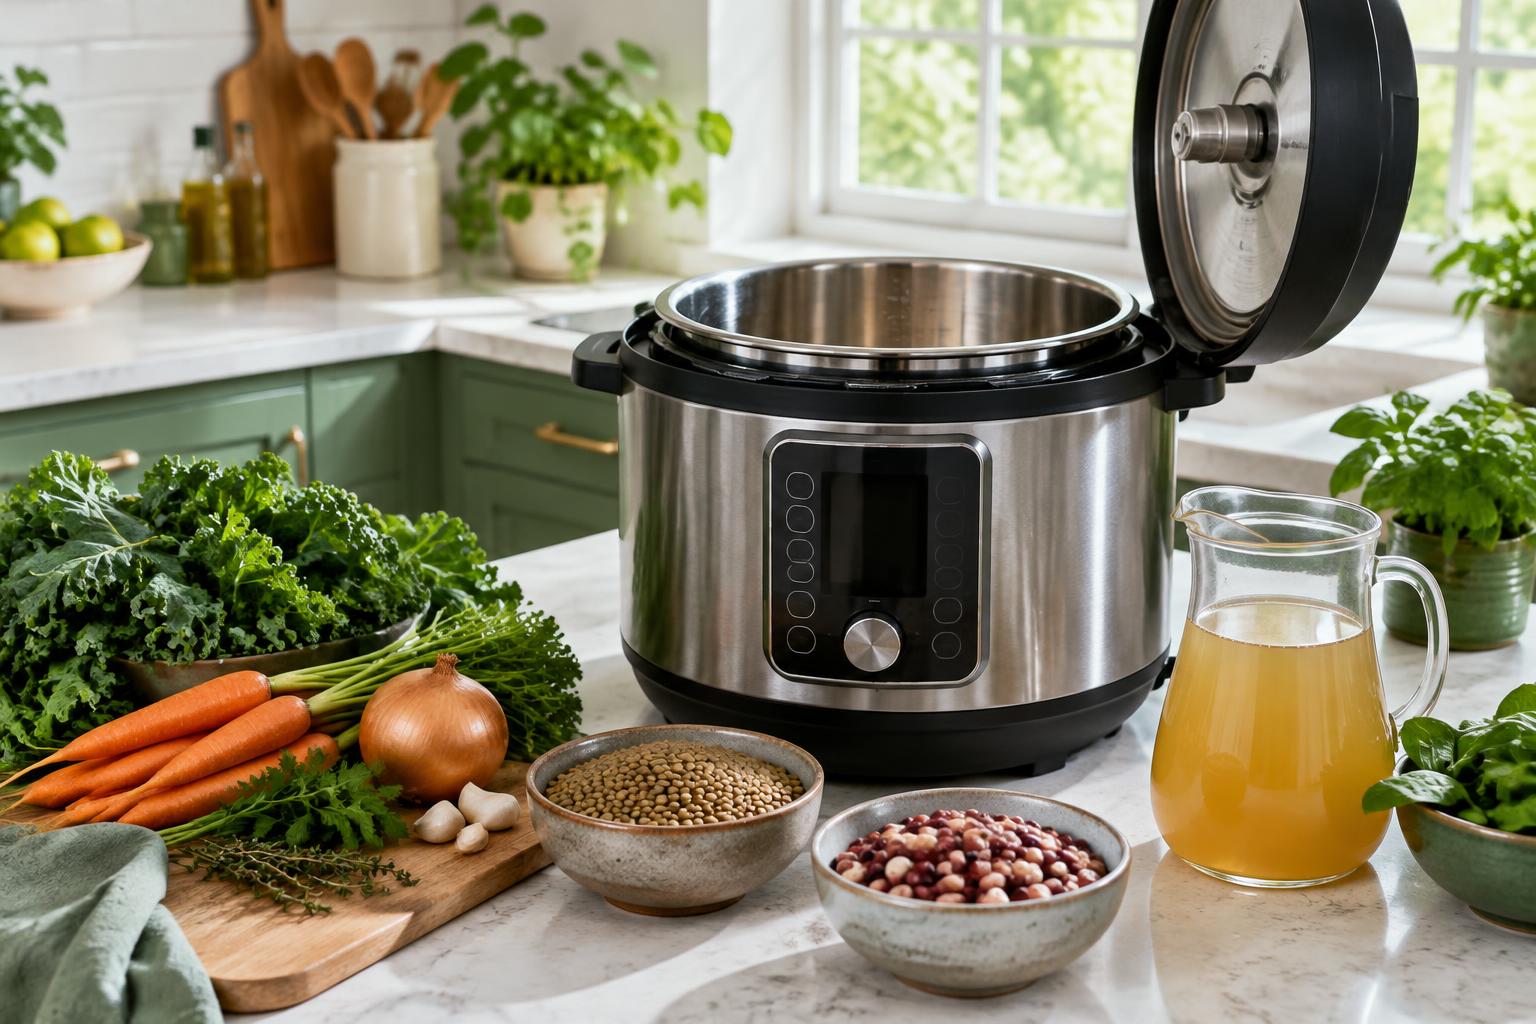
Cooking Techniques
A practical guide to using a pressure cooker for fast, flavorful, healthy meals.
Pressure cooking can save time, build deep flavor, and make healthy cooking easier. Learn the key settings, safe release methods, and ways to prepare soups, beans, grains and proteins with confidence.
Part 01
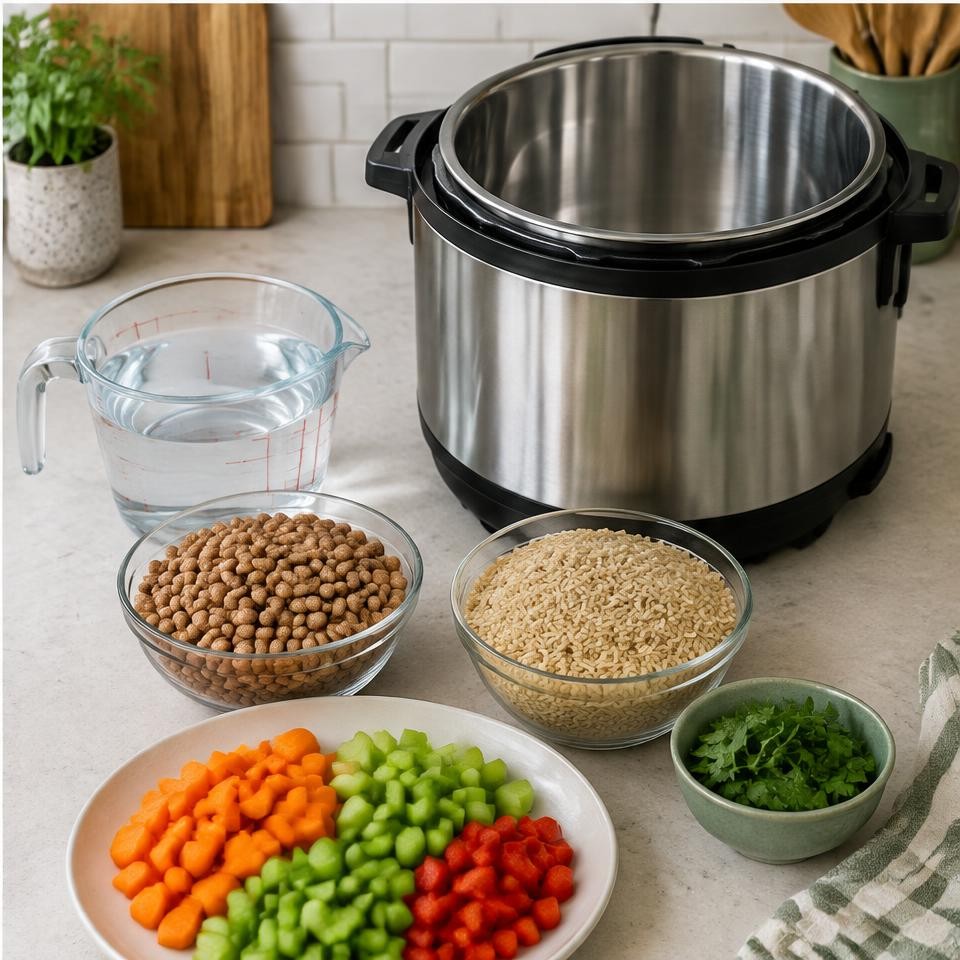
Pressure cooking traps steam in a sealed pot, raising the boiling temperature so many foods cook faster. It is especially useful for beans, lentils, soups, tougher grains and tender shredded proteins. One pot means fewer pans and a practical way to prepare food ahead.
It does not make a meal healthy automatically. Choosing vegetables, whole grains, beans, lean proteins and measured oil lets you control what goes into dinner. A ready pot of soup or beans can make home cooking more realistic on busy days. Include pressure-building and release time in your plans.
Part 02
Electric pressure cookers, often called multicookers, regulate heat and pressure automatically. Stovetop pressure cookers need active heat adjustment on a burner and use their own timings. This course focuses on electric models; do not transfer timings blindly between types.
Part 03
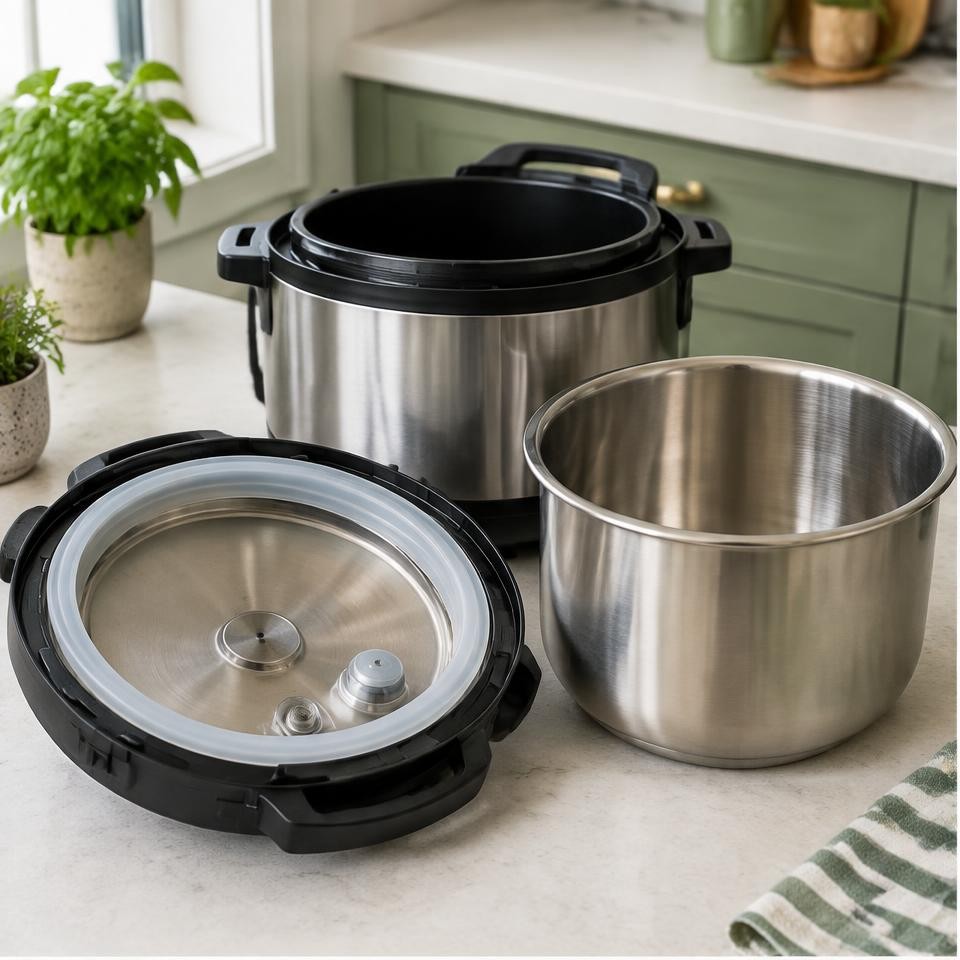
Inspect the appliance while it is cool and unplugged. Generated photos illustrate the idea, not your model’s exact assembly; use the manufacturer’s diagram to identify every part.
Part 04
Follow your exact appliance manual for minimum thin liquid, clearance, fill limits and release procedures. As a common electric-cooker rule, stay at or below two-thirds full overall, and half full for expanding or foaming foods such as beans, rice and grains. A model may specify a lower limit. A large quantity of thick salsa or sauce does not replace required thin liquid.
Keep children away from the vent. Never cover a valve, place a towel over steam, move a pressurized cooker, or force the lid. If liquid spits during venting, stop releasing according to the manual and allow more natural release. If anything seems unsafe, stop and consult the manufacturer.
Part 05
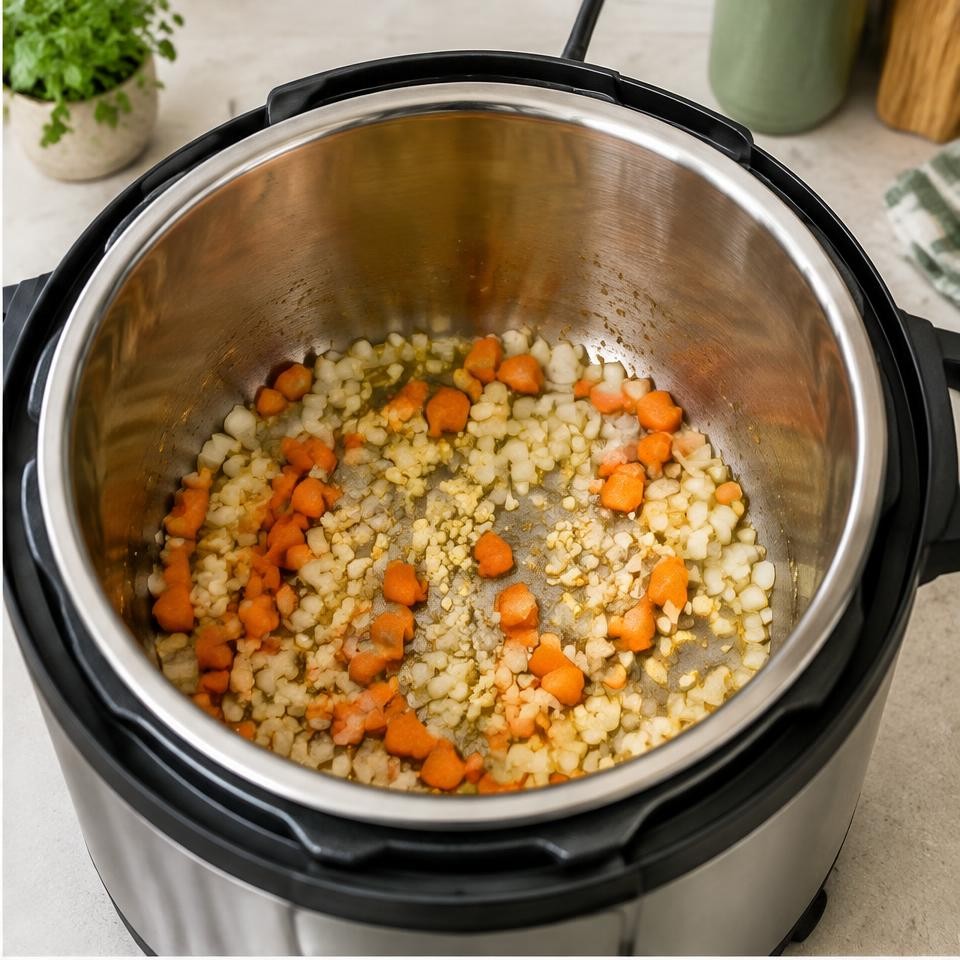
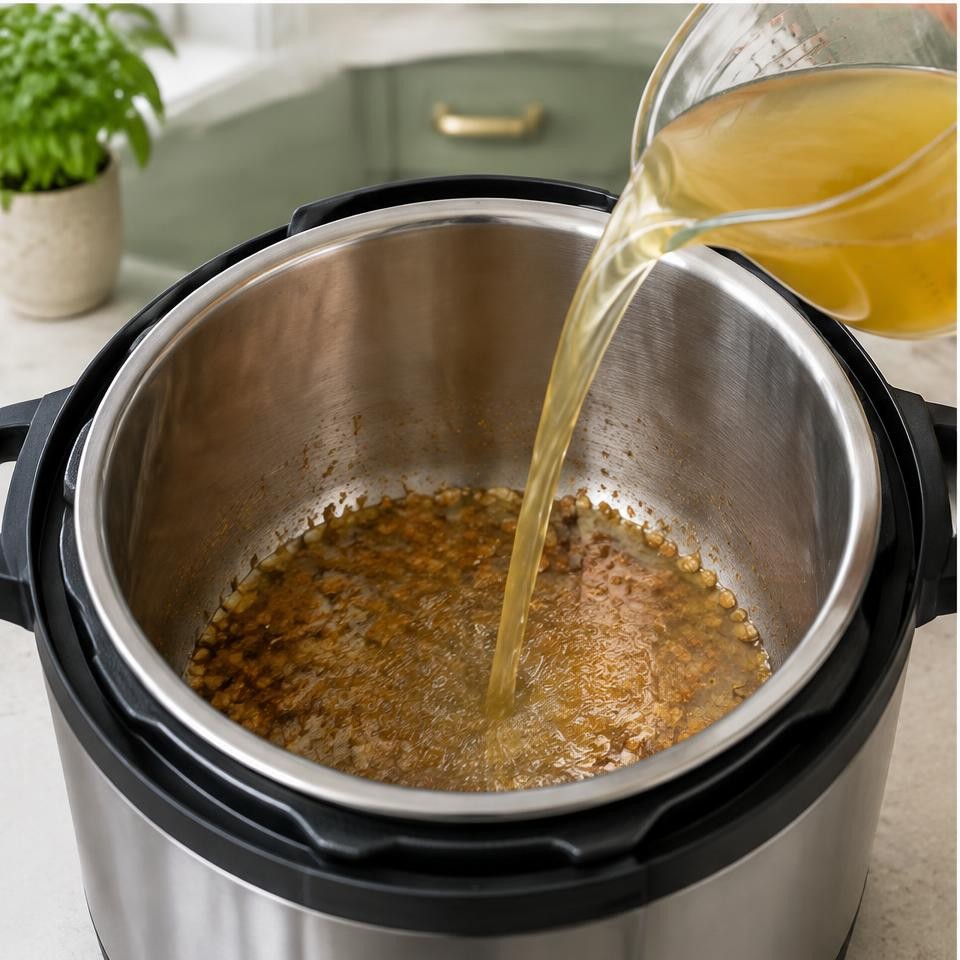
Start with sautéed onion, garlic or ginger and a measured amount of oil. Brown proteins when the recipe calls for it; briefly toast spices without burning them. Cancel sauté, add some of the measured broth and scrape the base thoroughly. Deglazing prevents stuck browned bits from scorching.
Cut ingredients evenly. Put sturdy foods in first and keep thick tomato products on top when a tested recipe requires it. Pressure cooking is not simply throwing everything in: liquid, cut size, layering, time and release all affect the result. Add spinach, citrus, herbs and delicate vegetables after cooking when appropriate.
Part 06
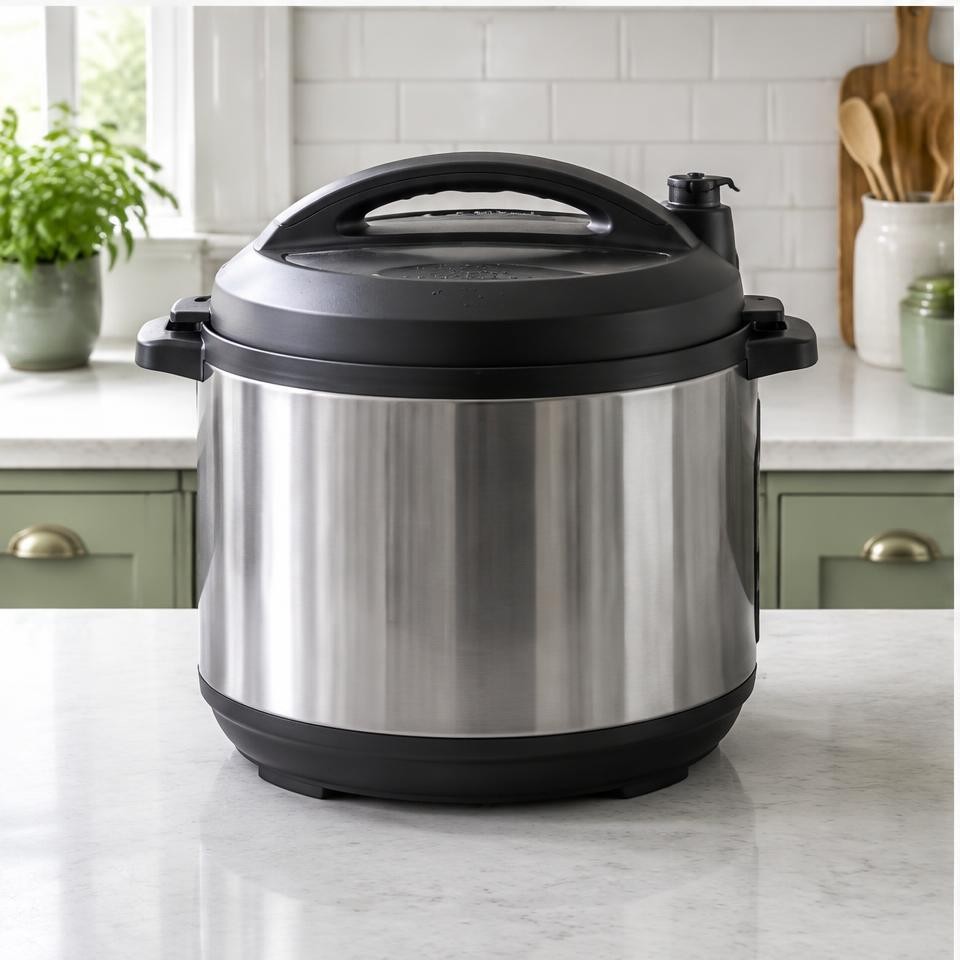
Natural release means leaving the cooker alone after the cooking cycle while pressure falls gradually. Food keeps cooking. It is often appropriate for beans, grains, soups and large pieces of meat, especially when liquid could foam or spray. A recipe may specify a partial natural release before carefully venting the remainder.
Quick release vents pressure using the model’s release control. It stops pressure cooking sooner and may suit a tested short-cooking vegetable recipe, but is unsuitable for many foamy or liquid-heavy foods. Keep clear of the steam and never invent a release method just because you are in a hurry.
Full natural release has no universal number of minutes: food quantity, liquid and model affect it. Wait until pressure is fully released and the float valve has dropped; never open based only on a timer.
Part 07
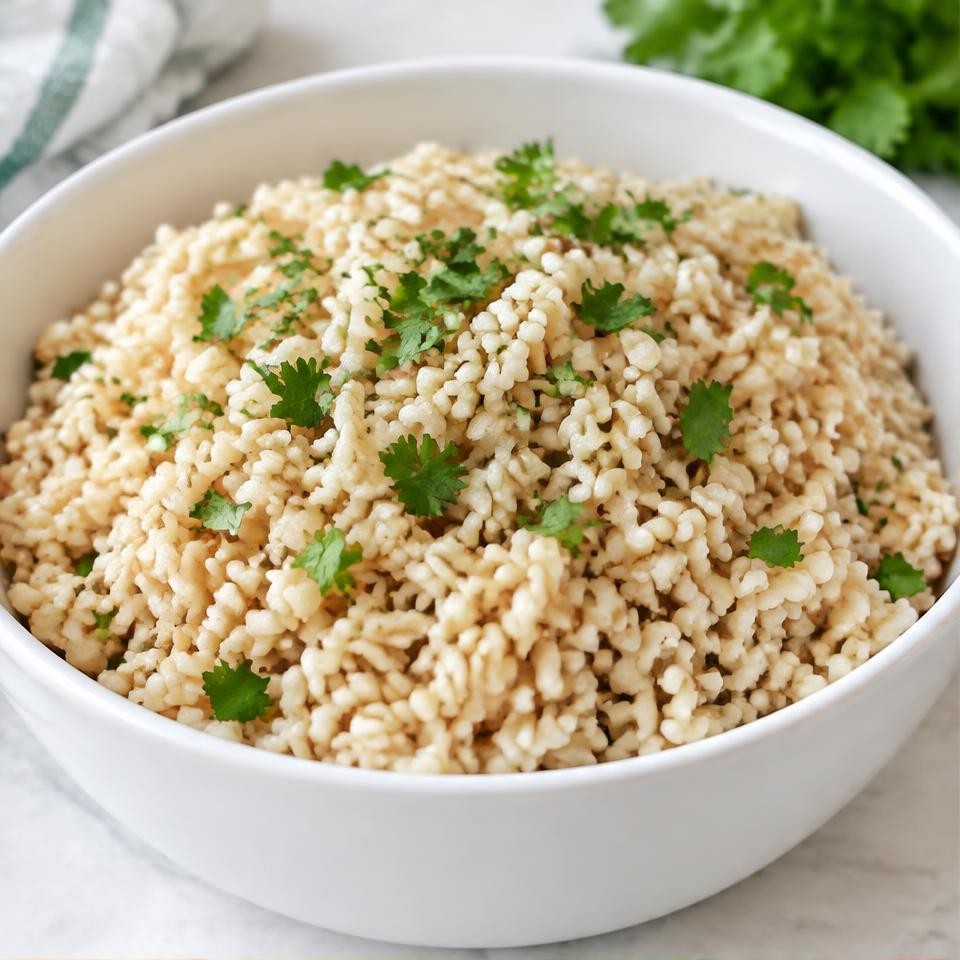
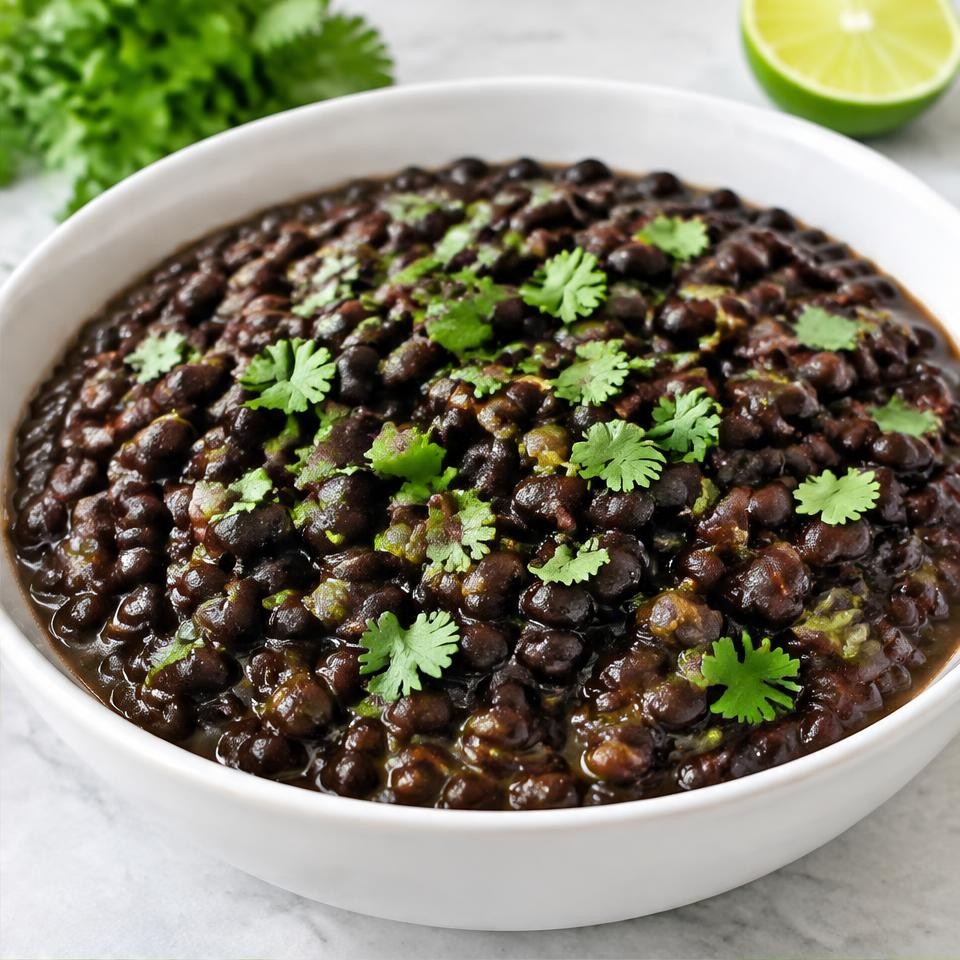
Beans, lentils, chili, soups, stews, brown rice, steel-cut oats, potatoes and shredded chicken are useful starting points. Cook components separately when they need different times. A grain or bean portion is a meal component, not necessarily a complete meal.
Delicate pasta and fish are easy to overcook. Quick vegetables may need very short pressure times or be added after release. Breaded foods will not become crisp in a wet, sealed cooker; use another method for crunchy textures. Dairy sauces may split and thick sauces can scorch.
Part 08
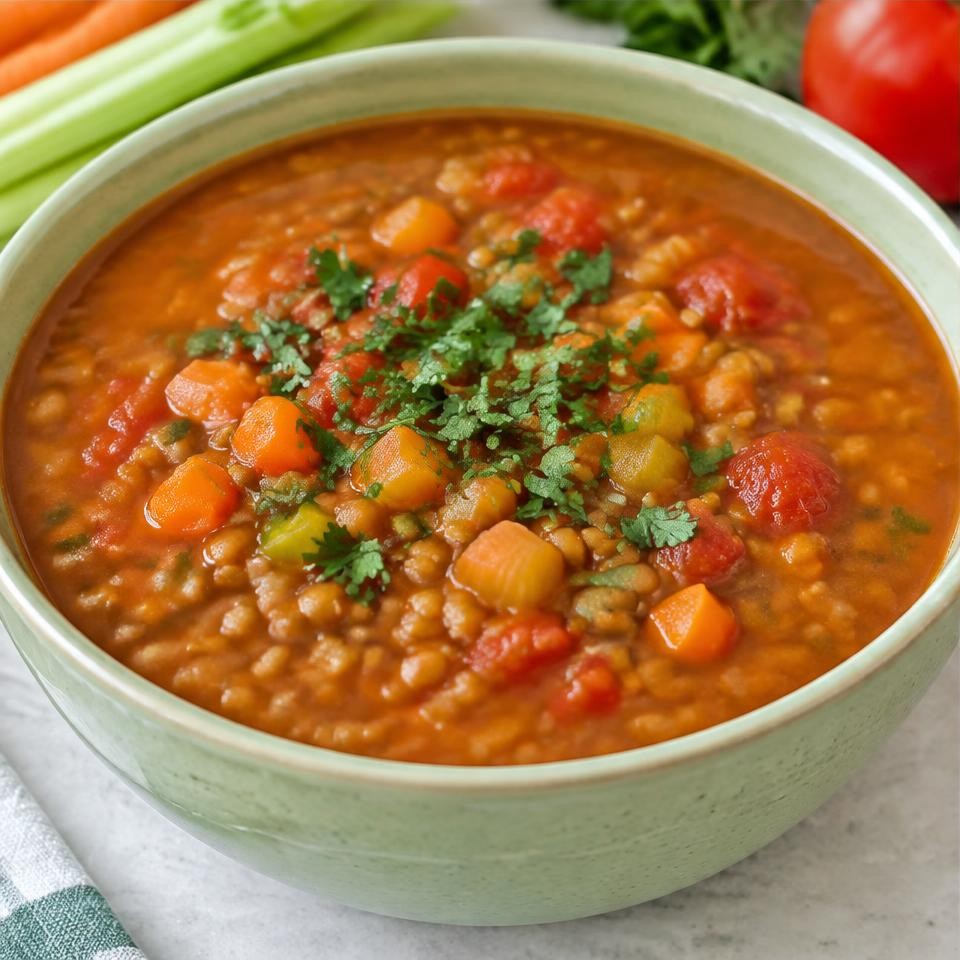
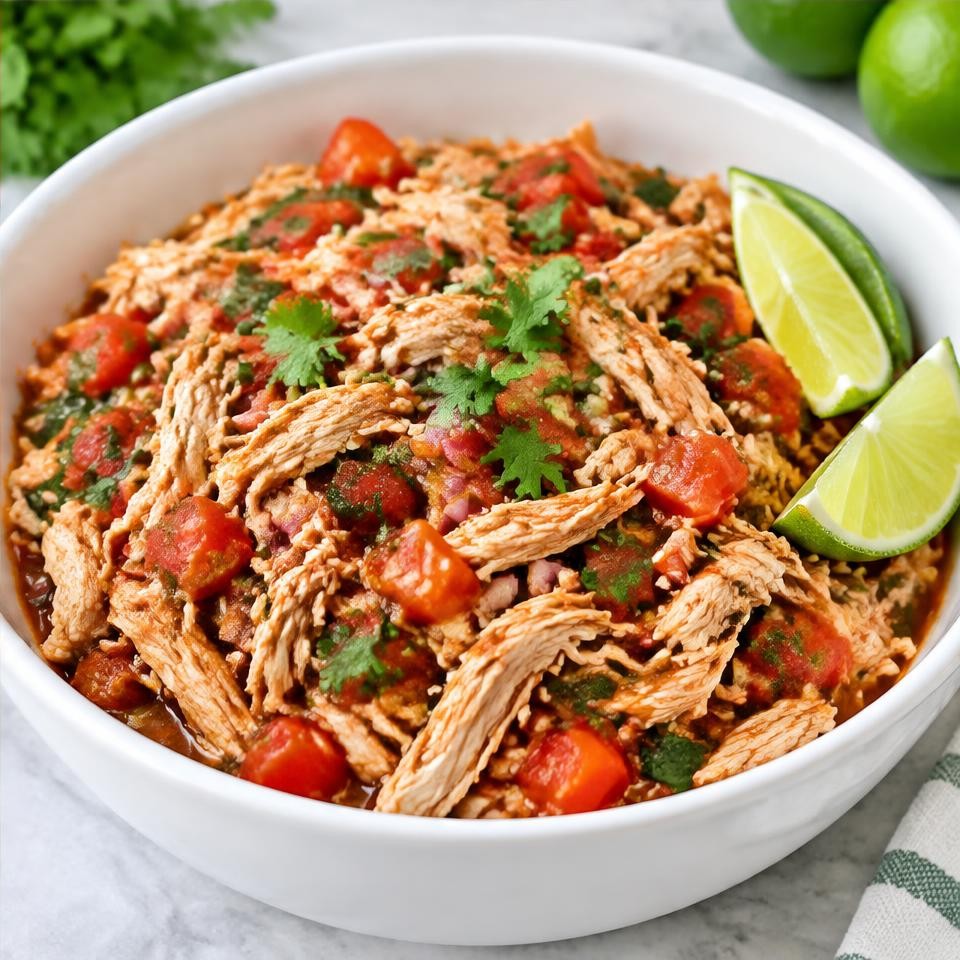
Cook dry beans with little or no added salt, compare broth and salsa labels, and build soups from vegetables rather than relying on packaged mixes. Whole grains and lean proteins can become convenient meal-prep building blocks.
Garlic, onion, ginger, cumin, smoked paprika, herbs, citrus and vinegar add flavor. Taste after release before adding salt. Tomatoes can add depth, but respect the recipe’s layering instructions. Batch cooking helps plan portions without implying the cooker itself provides medical benefits.
Part 09
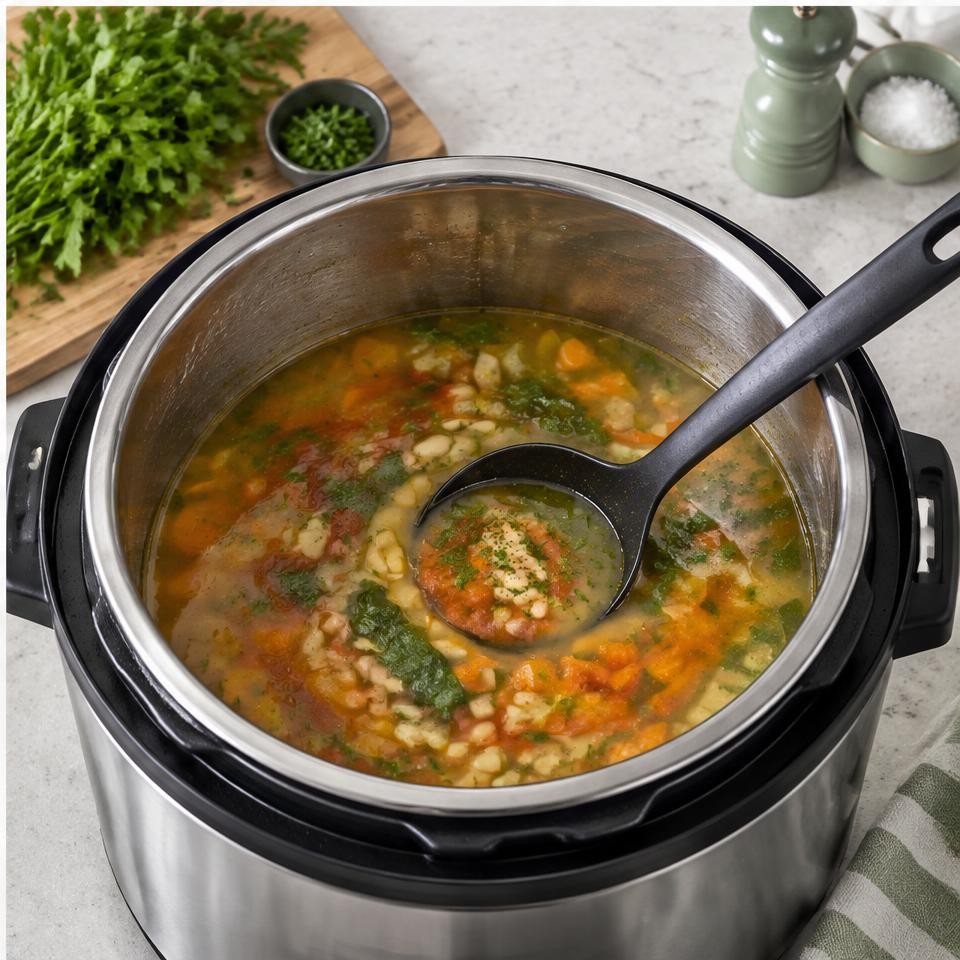
Build a few habits and the process becomes more predictable.
Part 10
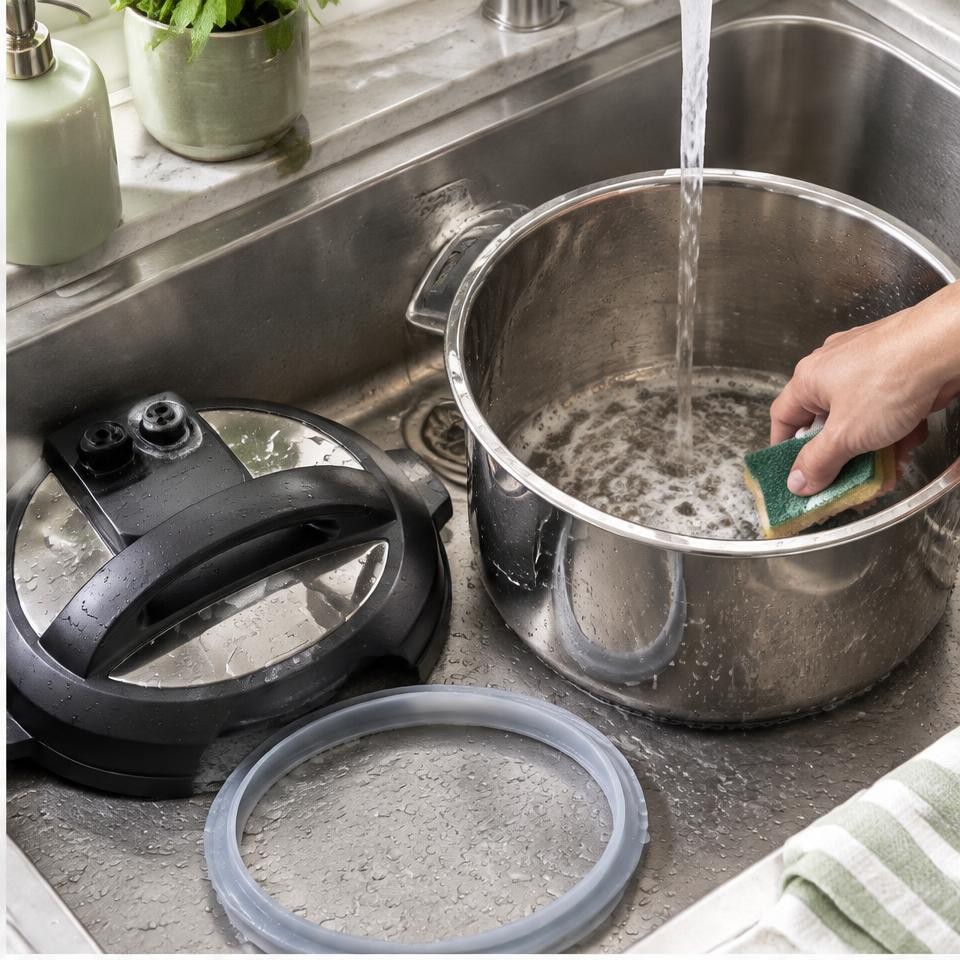
Unplug and let everything cool. Wash the inner pot, sealing ring and removable lid parts exactly as the manual directs; dishwasher compatibility varies. Never immerse the electric base. Clean the vent and float-valve components only by the approved method, and reassemble correctly.
Dry parts completely, empty the condensation collector and store with the lid resting open or inverted if the manual permits. Odors can cling to silicone: wash well and keep separate compatible rings if useful. Replace stretched, cracked or damaged rings and other worn parts with approved replacements.
Part 11
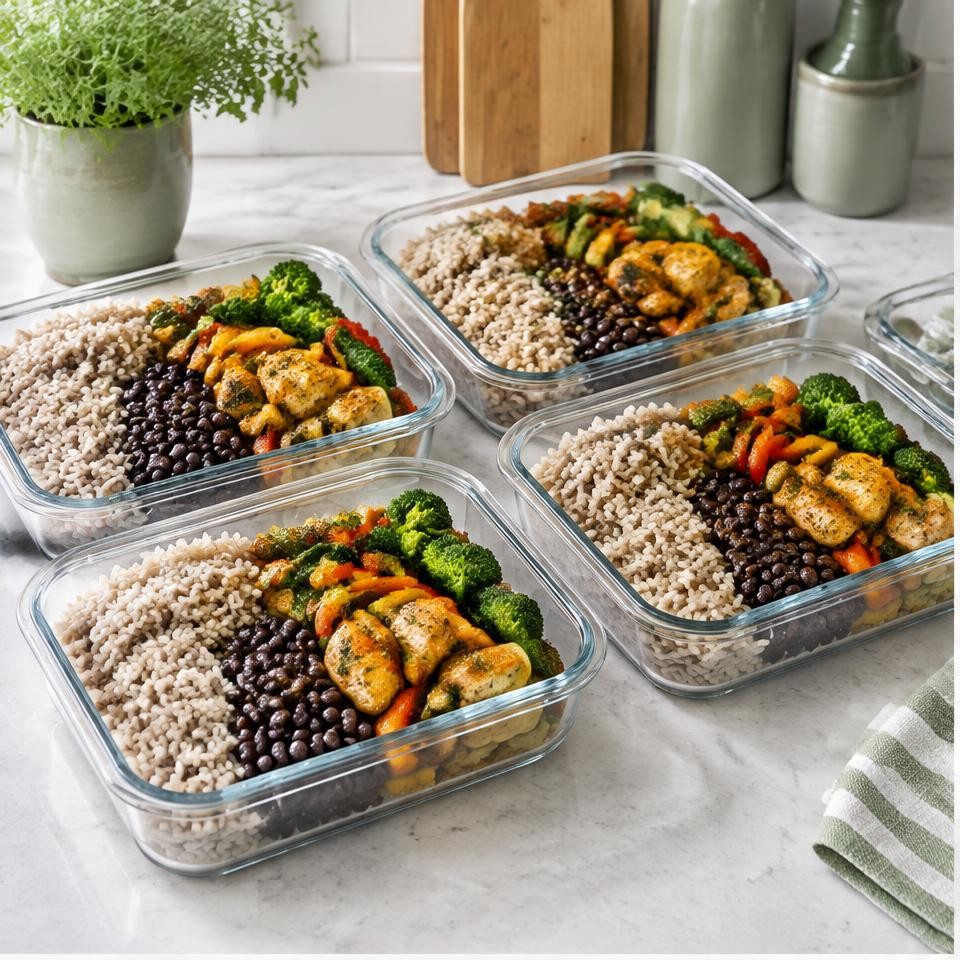
A pot of soup, beans, grains or shredded chicken can become several different meals. Use beans in salads and bowls, chicken in wraps or soup, and rice as a side. Divide food into meal-size shallow containers rather than leaving a large hot pot on the counter.
Refrigerate perishable leftovers within 2 hours, or within 1 hour above 90°F / 32°C. Keep the refrigerator at 40°F / 4°C or below. Use refrigerated cooked leftovers within 3–4 days or freeze; label and date portions. Reheat to 165°F / 74°C. Do not leave food overnight in a switched-off cooker.
After full release, simmer uncovered on sauté, stirring frequently. Add an appropriate slurry only after pressure cooking.
Check the recipe, cut size and pressure setting. Add required thin liquid before another cycle. For meat, keep cooking and verify safe internal temperature.
Next time use larger pieces or add tender vegetables after release; use the tested release method rather than changing it for foamy foods.
Cancel cooking and follow the manual. Let pressure release safely before opening. Check liquid and stuck food; transfer unburned food to a clean pot without scraping burned residue into it.
Age and hard water can matter. Keep sufficient water and cook longer with full natural release; add acidic ingredients after beans soften.
Tough cuts may need longer gentle cooking; lean breast meat can become dry from overcooking. Use the right cut, recipe and thermometer endpoint.
Stop venting as directed by the manual and wait. Use a smaller batch and the correct natural-release procedure next time. Never obstruct the vent.
Finish with herbs, citrus or vinegar, then taste. Next time sauté aromatics first rather than simply adding more salt.
Check variety, measured liquid and release. Brown rice and white rice use different methods; do not substitute timings without a tested recipe.
Read the manual and do its recommended water test. Use the approved control while standing clear, and let foamy foods release naturally.
Each recipe has complete ingredients, instructions and estimated nutrition. Follow your model’s minimum liquid and fill limits, including when changing servings. Recipe printing and phone JPG saving are available through the signed-in Export button on the full recipe.
Choose brown rice, black beans, lentil vegetable soup or salsa shredded chicken.
A simple whole-grain foundation for bowls and meal prep. About 30 minutes at pressure plus building pressure and release.
55 min · Yield: 6 standard servings · Servings: 6
Serving size: 1 of 6 equal portions of the cooked recipe
Checking recorded nutrition updates…
Estimated, not professionally reviewed. Changes to ingredients or portions change nutrition.
Pressure cooking may feel unfamiliar at first. Learn your model, start with a simple recipe and notice how liquid, timing and release affect the result. Each pot of beans or soup is another useful skill for everyday cooking.
Practice recipes are adaptations, not manufacturer-certified procedures for every model. Photos are generated illustrations, not exact appliance diagrams. Nutrition estimates are not professionally reviewed.