
Basket air fryer
Simple everyday batches
Choose by usable basket area, not just the advertised capacity. A broad, removable crisper plate is easier to load in a single layer and clean.
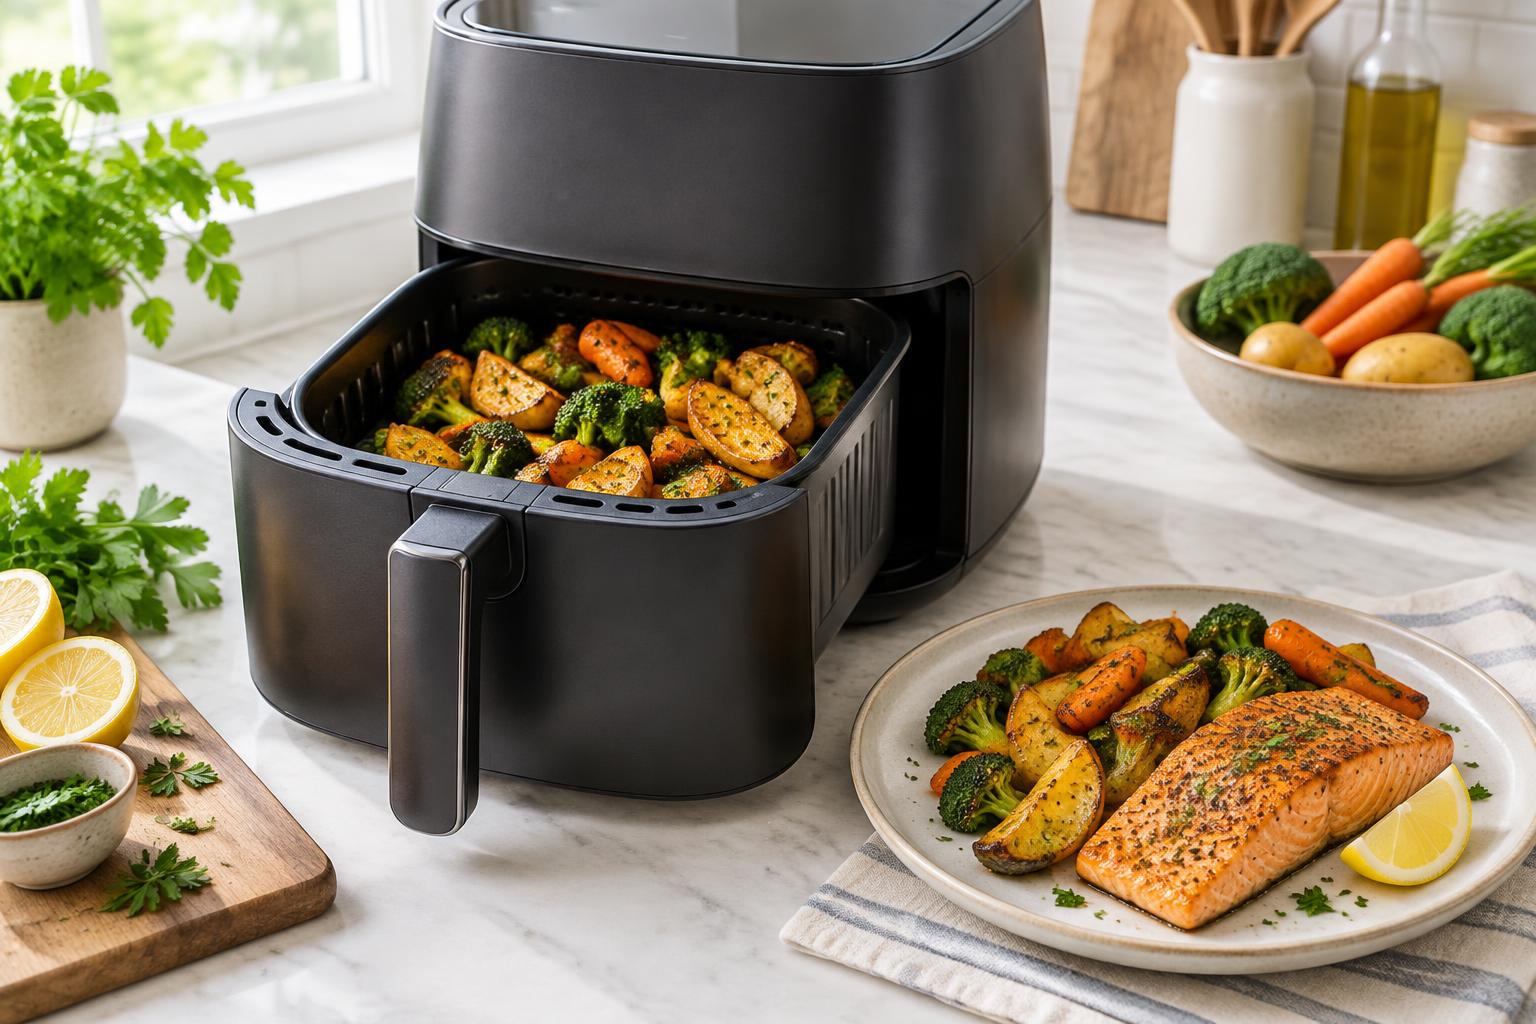
Crisp edges, thoughtful portions
A little oil, plenty of airflow and the right timing turn everyday ingredients into satisfying meals. Start with the basics, build confidence with vegetables and proteins, then bring a whole meal together.
Part 01
Simple everyday batches
Choose by usable basket area, not just the advertised capacity. A broad, removable crisper plate is easier to load in a single layer and clean.
More flexibility
Dual drawers suit foods with different times; synchronized finish can help. Oven-style models offer trays, but may need tray rotation. Neither means you can ignore airflow.
Doneness without guessing
Check the thickest part of meat or fish. An infrared surface thermometer cannot measure the safe temperature at the center.
Light coating, gentle handling
A refillable pump sprayer helps distribute a measured amount of oil on food. Silicone-tipped tongs protect the basket coating; use a silicone spatula for delicate fish.
Accessories are optional. Start with the included basket and crisper plate; only add dishes or racks that your appliance maker approves.
Part 02
Place the appliance on a stable, heat-resistant counter with the clearance required by its manual. Keep vents clear, away from walls, towels and overhead cupboards. Fit the crisper plate correctly.
Dry vegetables and proteins well. Cut similar-sized pieces so they finish together. Press firm tofu first. For wedges, rinse off surface starch and dry thoroughly.
Toss fresh ingredients with a small measured amount of olive or canola oil in a bowl, rather than pouring oil into the drawer. Use paprika, garlic, herbs and lemon; keep salt and sugary glazes light. Air frying does not remove a food’s carbohydrate or sodium content.
Follow the appliance manual or recipe: some models need a short preheat, others do not. Never preheat with loose paper or foil inside. Oven-style and basket models may need different times.
Leave gaps around food. Shake sturdy vegetables halfway through; turn delicate fish with a silicone spatula only if needed. Work in batches rather than filling the basket to the rim.
Check several minutes before the suggested end time. Add short intervals as needed. Measure meat and fish at the thickest point, away from bone; the timer and surface color cannot prove food is safe.
Part 03
These are starting ranges for a single uncrowded batch, not guaranteed cooking times. Size, thickness, model and quantity matter. Follow your manual and package instructions; check early and use internal temperatures for food safety.
| Food | Setting | Starting time | What to check |
|---|---|---|---|
| Broccoli, carrots & other chopped vegetables | 380°F / 193°C | 10–20 min | Shake halfway; tender centers and lightly browned edges. |
| Potato or sweet potato wedges | 400°F / 204°C | 15–25 min | Turn halfway; a fork should pass easily through the center. |
| Salmon fillets | 400°F / 204°C | 7–12 min | Thickness changes timing; check for 145°F / 63°C inside. |
| Boneless chicken breast | 400°F / 204°C | 12–25 min | Turn halfway; every piece must reach 165°F / 74°C. |
| Pressed firm tofu cubes | 375°F / 191°C | 12–18 min | Trial range: shake halfway and cook until edges are crisp. |
Adapting an oven recipe? Use an air-fryer-specific version when possible. Otherwise start slightly cooler and check earlier; there is no universal conversion that guarantees doneness.
Part 04
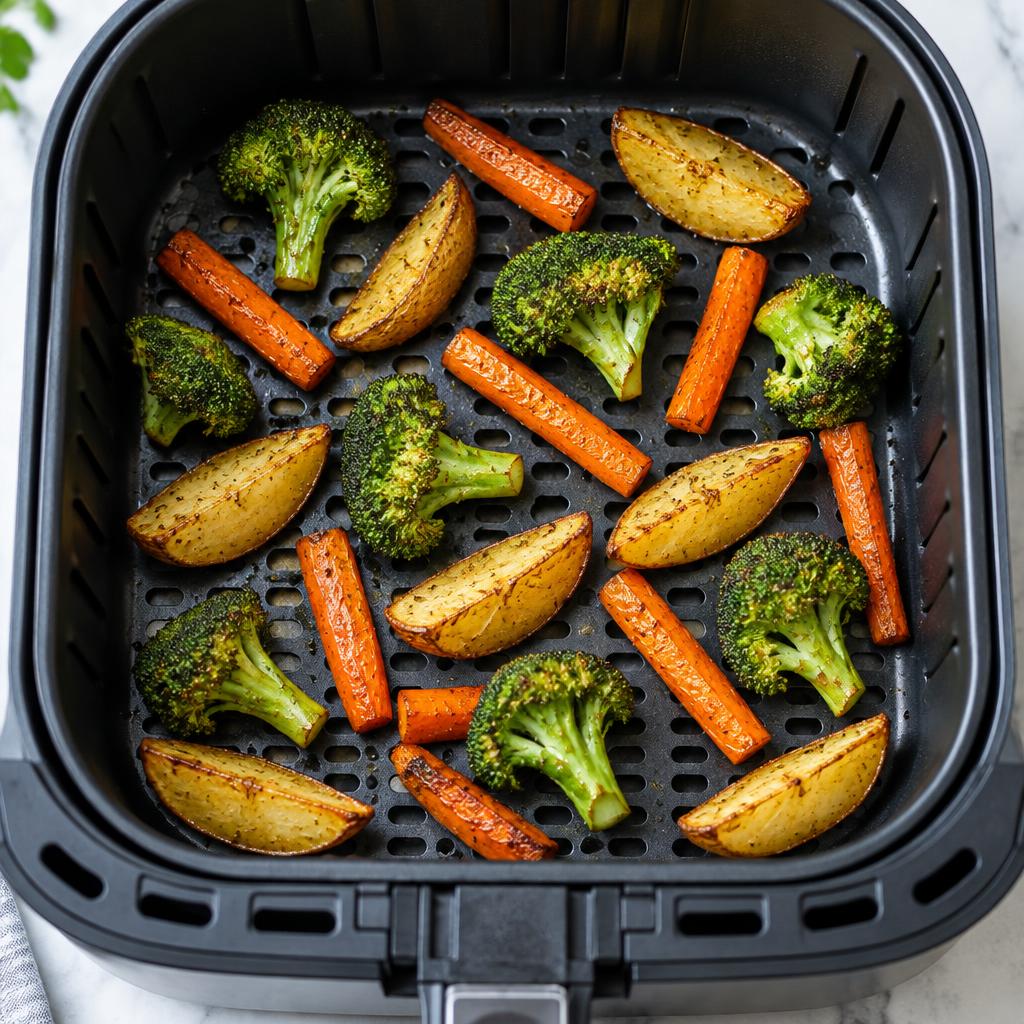
Start here
For extra crispness, reduce the batch size before increasing the heat. Avoid deeply charring the food.
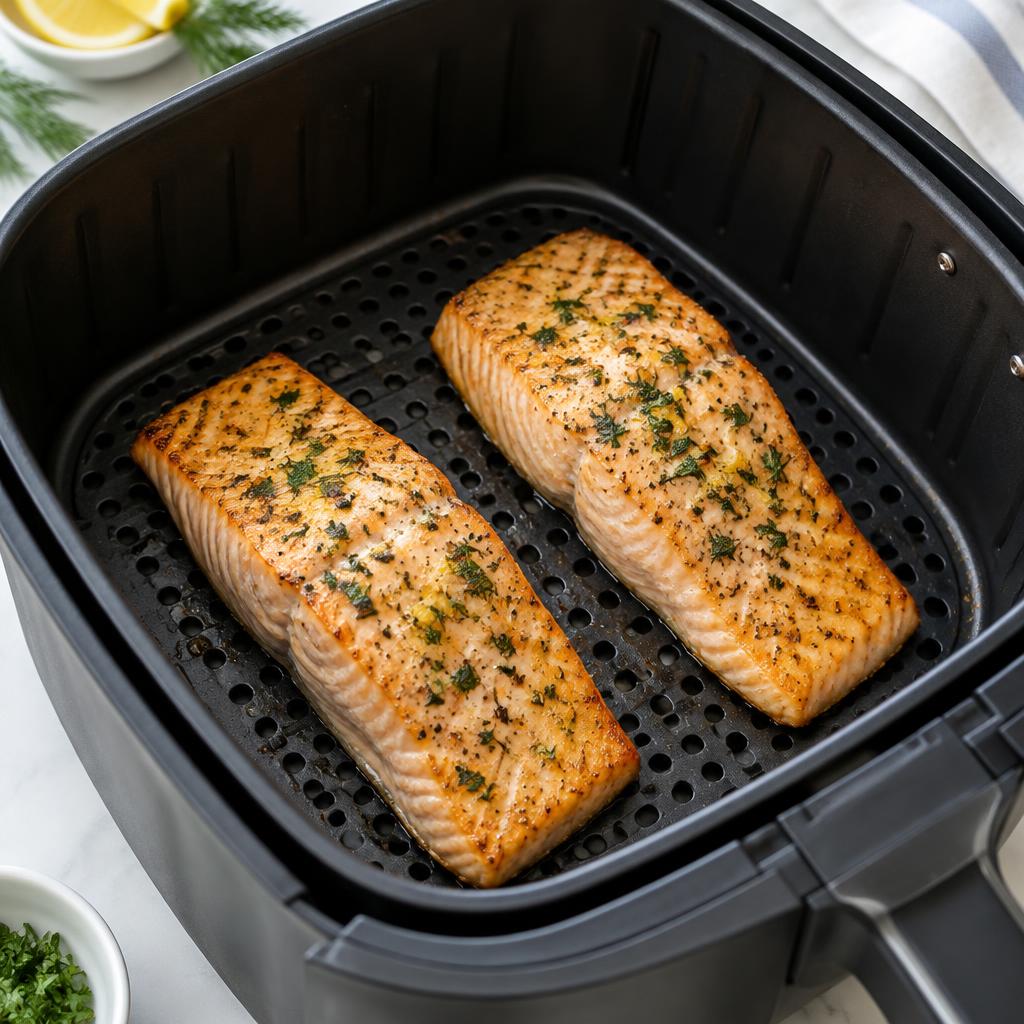
Build confidence
Do not use a lower fish or poultry temperature just to keep it juicy. Choose evenly sized pieces and check early instead.
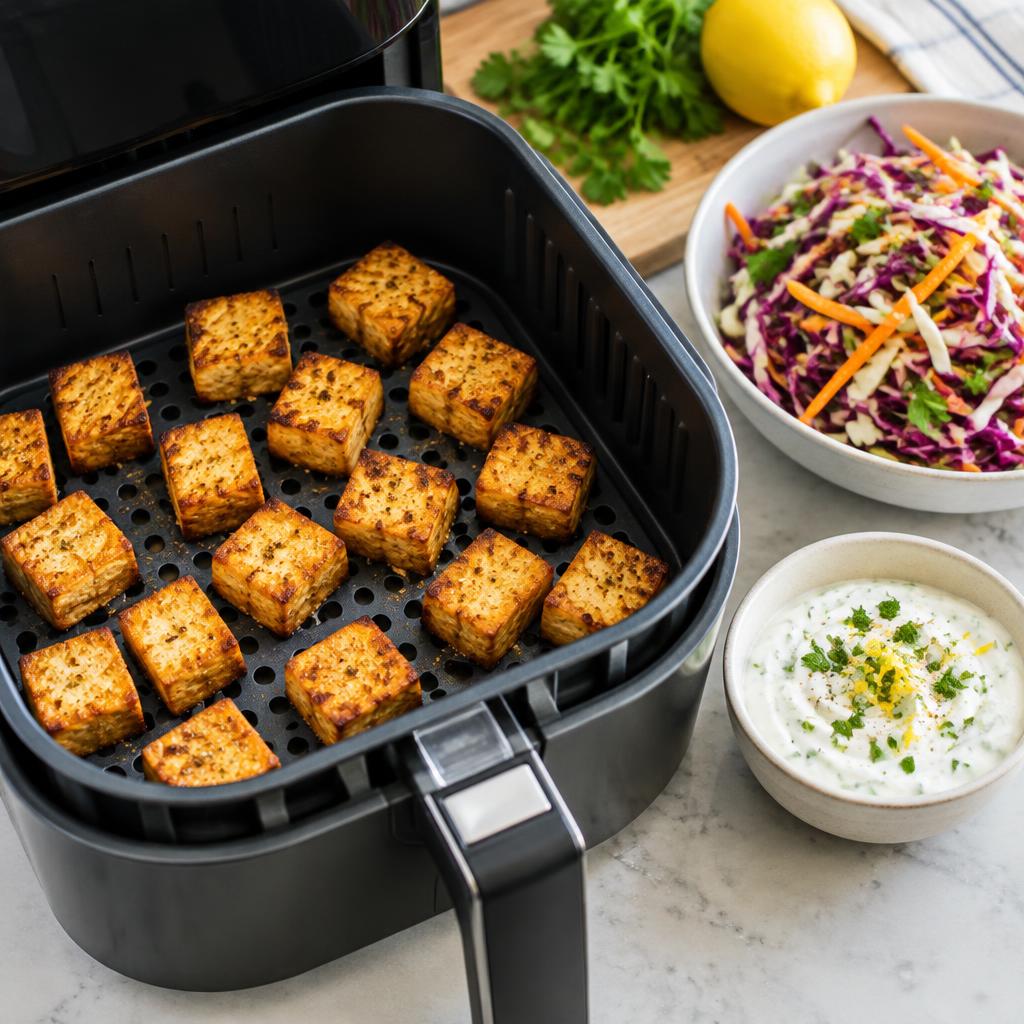
Plant-forward
Skip wet batter: it can drip through the basket. Dry coatings and well-drained ingredients work better.
Part 05
Plan backward from serving time. Prepare a cold salad or slaw first, cook the slowest food next, and finish quick vegetables last. Keep raw and cooked foods separate; never place cooked vegetables on a plate that held raw chicken.
Try sweet potato cubes with peppers, then add cooked eggs at serving. Only cook eggs in an oven-safe dish approved for your model; cook egg dishes to 160°F / 71°C.
Re-crisp a whole-grain pita or make a small open-faced vegetable melt with a little low-fat cheese. Secure toppings so the fan cannot lift them.
Start wedges first, then cook the protein while the wedges rest briefly. Finish vegetables last. In dual drawers, use each food’s own setting and the model’s synchronized-finish function.
Cook from frozen in small batches; shake away clumps. Follow package directions where available. Extra water may mean softer results than fresh vegetables.
Use a model-approved tray and a small whole-grain base. Pre-crisp the base, then add vegetables and a modest amount of mozzarella. Watch closely so cheese does not blow onto the element.
Try thick apple or pear slices with cinnamon, checking frequently at a moderate setting. Skip added sugar; fruit still contributes carbohydrate, so portion size matters.
Build flavor with herbs, citrus and spices instead of heavy salt or sweet sauces. Choose lean proteins and plenty of non-starchy vegetables; portion breads, potatoes and fruit to suit your own nutrition plan.
Part 06
Pale or soggy food
Dry it more thoroughly, reduce crowding and leave the air holes clear. A light oil coating helps fresh foods brown.
Burnt outside, underdone center
Use smaller, even pieces and a lower temperature with more time. Check internal temperature; do not serve undercooked protein.
Uneven cooking
Shake or turn partway and split large batches. Check several pieces, not just one.
Glaze burns
Cook the food mostly unglazed, then brush on a small amount near the end or after cooking.
Reheated food dries out
Use a lower setting and short intervals, while still reaching 165°F / 74°C. Choose another reheating method if the center will not heat evenly.